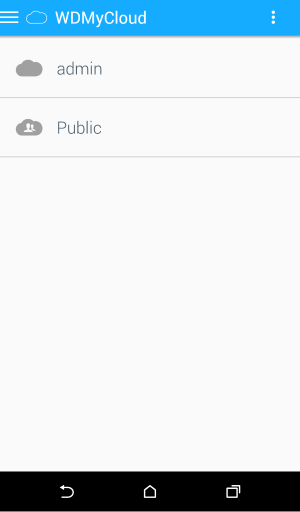
My Cloud Mobile App is a Remote Access tool provided on a My Cloud storage device. It can be used to access files remotely by using a Mobile device such as a tablet or smartphone. For assistance accessing the files saved to a My Cloud storage device using a mobile device, please follow the instructions below:
1. From the main page of the My Cloud Dashboard, click the Cloud Access button of the Navigation bar.
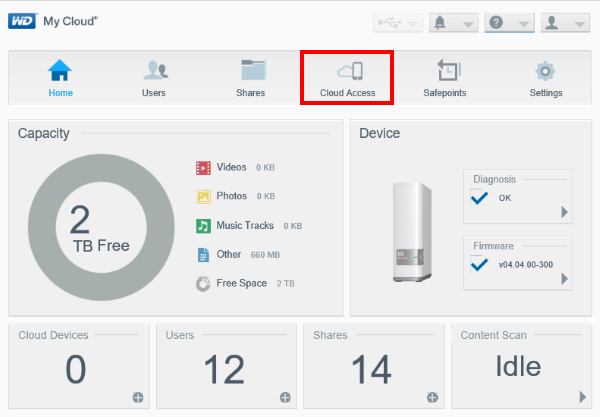
2. On the Cloud Access area, select the User that is to be configured for mobile access.
Note: When accessing the My Cloud through a mobile device, that device will have access to the network drive’s shares based on the level of access the User has on a My Cloud. Modify a User’s level of access through the Users area on the Dashboard of the My Cloud.
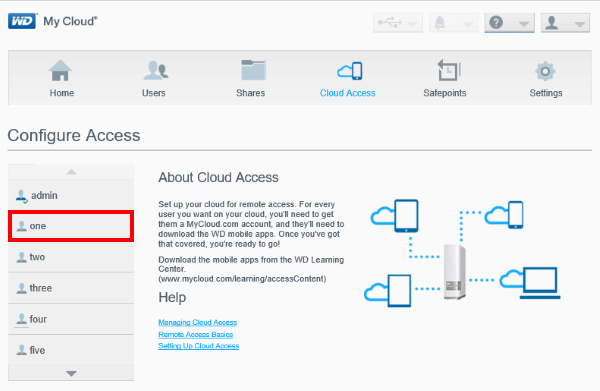
3. Once the User is selected, click on Get Code.
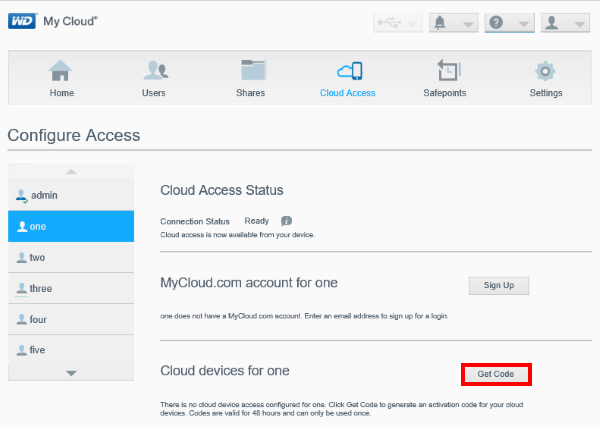
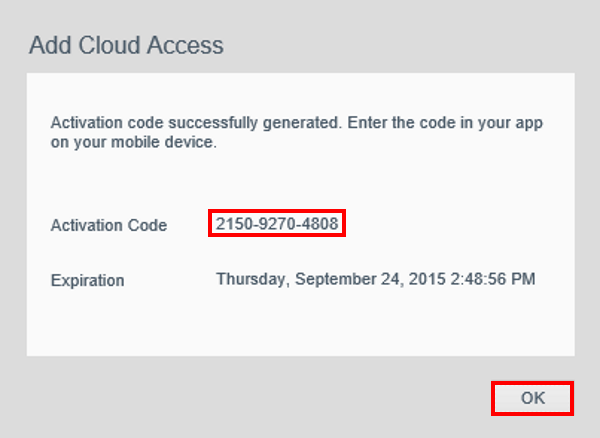
4. An Activation Code will be generated. It will be necessary to input this code on the mobile device later on, so keep it at hand. When ready, click on OK.
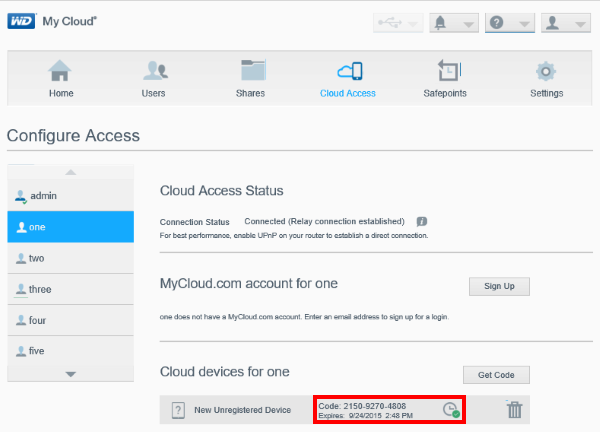
5. The Cloud devices for ‘User’ will now display a new unregistered device, along with the generated activation code, and the expiration date for that code. If the code is not used prior to that date, a new code will need to be generated.
Note: If the device has previously been added to WD Photos, a new code still needs to be generated here – each code can only be used one time, regardless of the device or the application (My Cloud or WD Photos) its being used on.
6. On the mobile device, download and install the My Cloud Mobile App. It can be found by searching the Apple Store/Google Play Store for My Cloud.
7. Once the application is installed, open it. Once inside the application, click on the top-left menu icon, which displays as three horizontal lines.
![]()
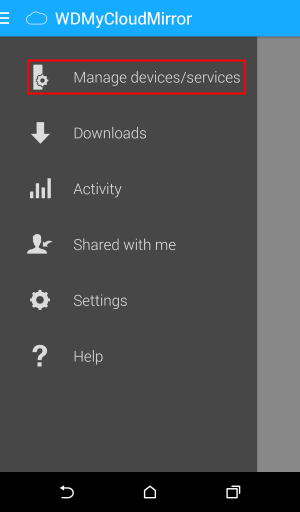
8. On the menu, click on Manage devices/services.
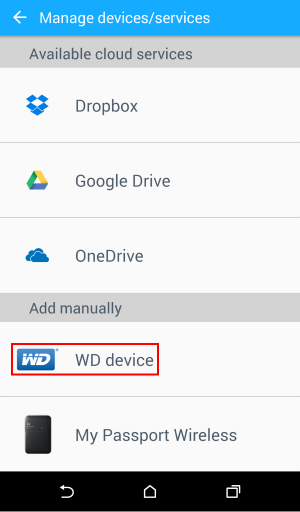
9. From the list of available services, select WD Device under Add Manually.
10. The application will request for an Activation Code. Please input the Activation Code that was previously generated on the Dashboard of the My Cloud.
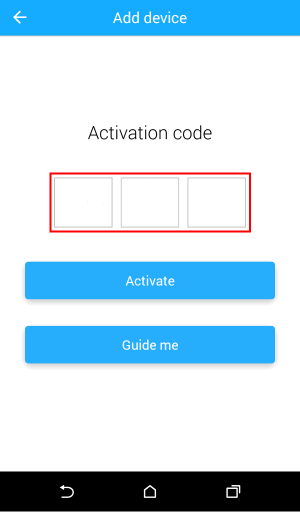
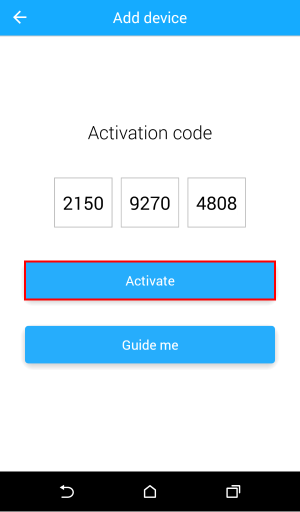
11. Once the Activation Code has been inserted, click on Activate.
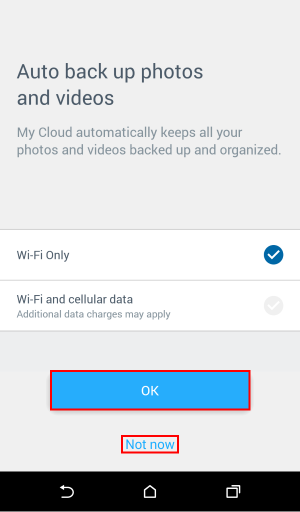
12. The Auto back up photos and videos area will now display. This will help the User configure when or if the application is to automatically back up data. Set it as necessary and click either Ok or Not now should no backup is to be set at this time.
13. The setup is now complete. Now it is possible to access Shares and files on a My Cloud through the app.
