Plex Media Server is packed with features designed to make your media experience easy and enjoyable. In this page we will learn how to add your movie collections to Plex for streaming in any media devices.

Ready? Let’s Plex!
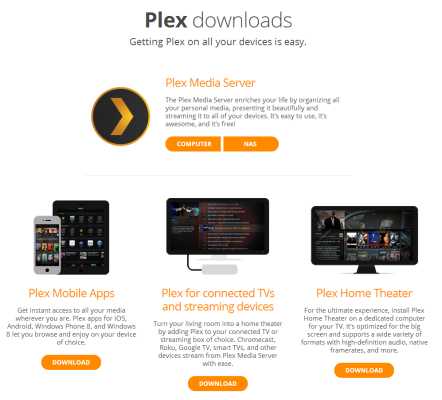
1. Download and install Plex. Click on the Computer download. Yes, you can also download it to your network-attached storage device if you have one. For this how-to, we’re focusing on the desktop app. Once you’ve grabbed it, install it – there aren’t any complicated settings you have to fuss with. Click the Launch button when you’re done.
2. Create a Plex account. You don’t have to have one if you don’t want – just click the “Don’t want an account” link at the somewhat-bottom of the screen, and you’ll be transported to Plex’s actual configuration screen. We recommend you go for it, though; it makes remote streaming much, much easier. Once you’re done, Plex will transport you to the primary configuration screen. Agree to the EULA. You can create one just by entering a username, email address, and other information.
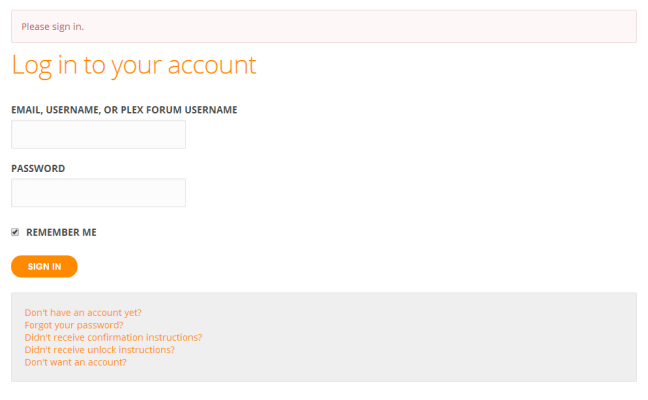
3. Click the “Already have an account” link to supply your credentials, or create one now.

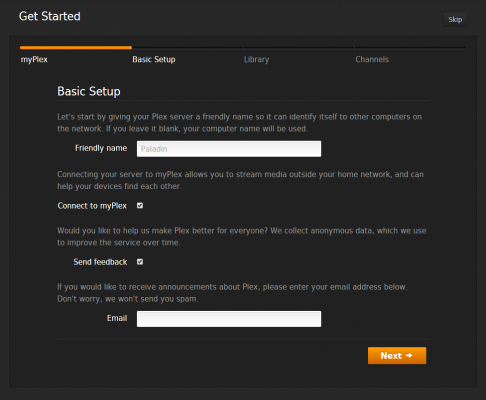
4. Name thyself. All you have to do in the next screen is giving your desktop computer a name. By default, it’ll use whatever name you’ve already assigned your desktop PC via Windows. If you’re good with that, click Next.
5. Create your media library by clicking on the Add Section button. Plex will ask you what you’re trying to add – movies, TV shows, music, photos or home movies. It’s ok if you have multiple types of media in a given folder, but it’s pretty easy to use Windows’ standard conventions for storing things (the prebuilt Videos, Pictures, and Music folders that likely already exist on PC).
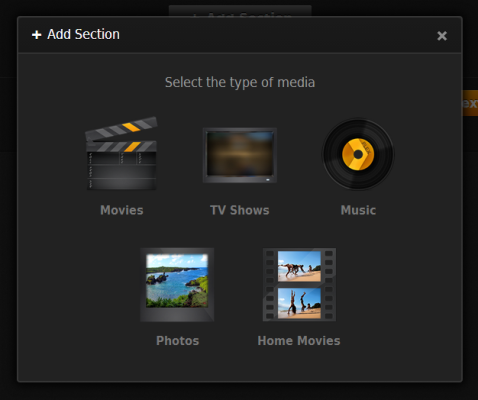
Once you’ve selected what you want to add, give the section a name (like “Movies”) and click the Add Folder button to do just that. While Plex scans your media, you can add more folders if you so desire. Once you’re all done, click the big orange Next button to go on.
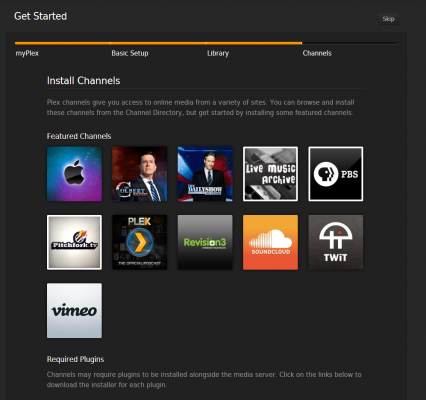
6. Add Channels, or other third-party sites that you can tap into using a Plex-friendly app, by selecting them on the next screen. Click Install on the pop-up window for each channel to slap it into your Plex server. On the final screen, click Done to jump into the full Plex display.
7. You can edit Plex’s default settings by clicking on the wrench and screwdriver icon in the window’s upper-right. By default, you shouldn’t have to play with anything, but you’ll be able to use the Settings menu’s myPlex section to see whether your computer can be found from outside your internal network (in other words, is your port forwarding working). You can also tell Plex how much it should scan the various folders you imported via the Library section. If you want Plex to auto-update every time you drop a new video in your Movies folder, that’s where you’ll find that option.
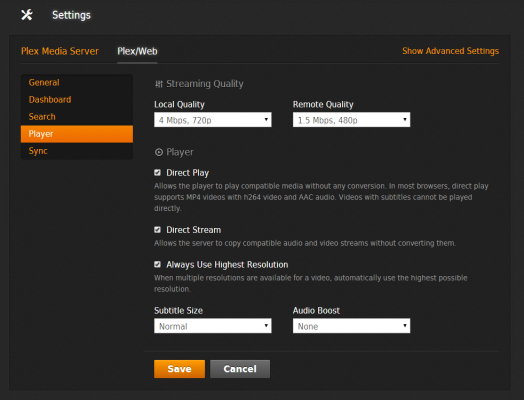
Finally, under the Plex/Web section (on the top), you can use the Player section on the sidebar to set the quality of your local and remote streams. If your network can support it, go big!
Here a Support – Basic Setup from Plex will be helpful to you, too.
All that is how to add your movie collections to Plex. Well, what’s next?
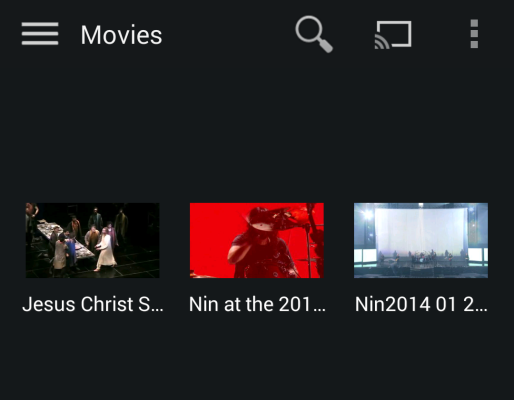
8. Stream your stuff by tuning into Plex using your favorite DLNA-friendly device. Or, if you prefer, you can also grab the Plex apps for iOS or Android to watch your desktop-based media from your tablets or smart phones.
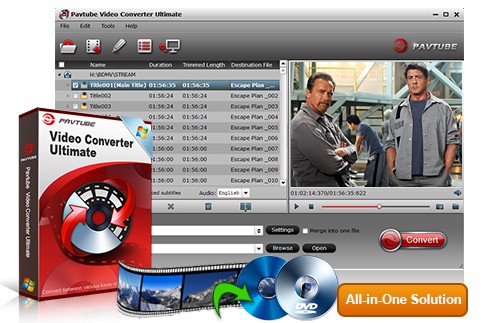
It’s better to know what formats does Plex support before you stream the movie. And if you have some videos which are not supported by Plex, you can use powerful Pavtube Video Converter Ultimate which is an all-in-one media solution. Almost all video/audio formats are supported by it and can output playable videos/movies for all popular devices with 6x faster conversion speed.
Further Reading:
Plex Media Server Supports Media Formats and How to Use It
Plex Problems I Came Across and Solutions I Did
Stream Your Personal Media to PS4 without DLNA
Master Your Plex Media Server with a QNAP NAS