In this part you will find overview, key features, and system requirements, as well as installation, registration, and user interface and menu instructions of Pavtube ChewTune.
Install, Register, & Uninstall Pavtube ChewTune
What is Pavtube ChewTune?
Pavtube ChewTune is a useful DRM removal tool that can legally create a DRM-free copy of the original. Besides striping out DRM protection, this DRM Media Converter tool is also good at recording your authorized videos or movies downloaded from a "Digital Copy" (typically bundled with a DVD or Blu-ray Disc), iTunes, Amazon Instant Video, WB Digital Copy, BBC iPlayer, etc. to many other commonly used audio and video formats, so that you can use the DRM-free copies on practically any compatible electronic device, such as Samsung Galaxy Note 3, Apple iPhone 5S/5C, Sony Xperia Z1, LG G-Pad and more.
Key features:
- Legally get rid of DRM encryption from Digital Copy, WMV and M4V videos
- Turn DRM media into iOS/Android/Windows devices supported file type
- Record DRM files to any regular format you want with expected quality
- Handle videos downloaded from Amazon Video on Demand, iTunes. Blockbuster, and more
- Support batch conversion and auto-shutdown computer after conversion
Install, Register, & Uninstall Pavtube ChewTune
System Requirements
- Operating System: Windows XP/Vista/Windows 7/Windows 8
- Processor: 1GHZ Intel CPU or above
- Memory: 512MB or above
- Display resolution: 1024 x 768 or above
Install & Uninstall
To install Pavtube ChewTune, please
1. Download Pavtube ChewTune setup file.
2. Double click on the setup file to begin installation.
3. Follow the instructions to install Pavtube ChewTune on your PC.

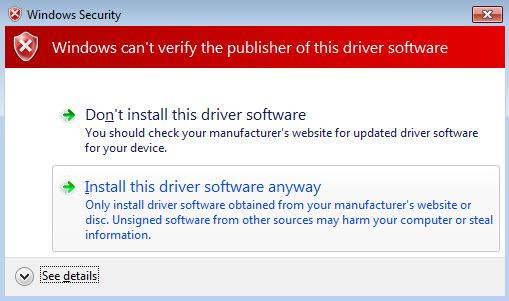
Note: During the installation your computer will pop up a Windows Security dialogue box saying “Windows can’t verify the publisher of this drive software”. Ignore it and choose “Install this driver software anyway” to continue installing Pavtube ChewTune.
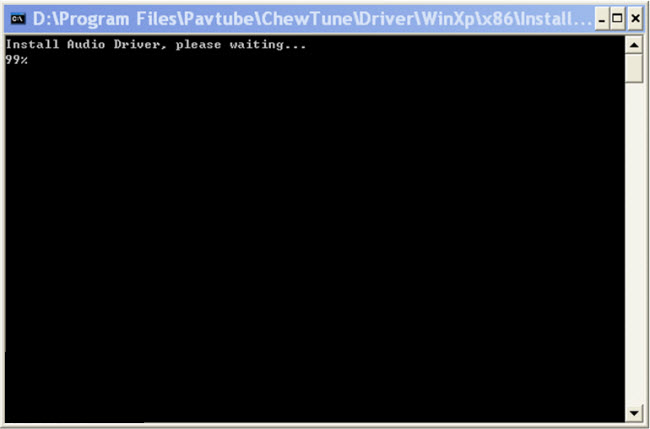
At the end of installing, the setup wizard will install Audio Driver onto your computer automatically through windows command line. This will take a few minutes. Don’t skip or abort, it is essential for running ChewTune correctly.
To remove Pavtube ChewTune from your computer, please
- Hit Windows Start and go through the following options: All Programs -> Pavtube -> ChewTune -> uninstall Pavtube ChewTune.
- From Windows Start menu, select to open “Windows Control Panel”. Double click “Add or Remove Program”, scroll to “Pavtube ChewTune”, and click Remove.
(More details are provided at How to install and register Pavtube software)
Registration
Please note that you can’t directly register the software from trial version. You need to purchase the retail version, activate Pavtube Member Zone account, and login to get the download link and registration code for retail version. If you didn’t get the activation email, please contact our technical support via support@pavtube.com for help.
User Interface
Pavtube ChewTune is a very easy-to-use DRM removal tool. You can get what you want within just a few clicks on the interface.
The main interface is composed of title bar, menu bar, tool bar, file list, output settings area, and status bar.
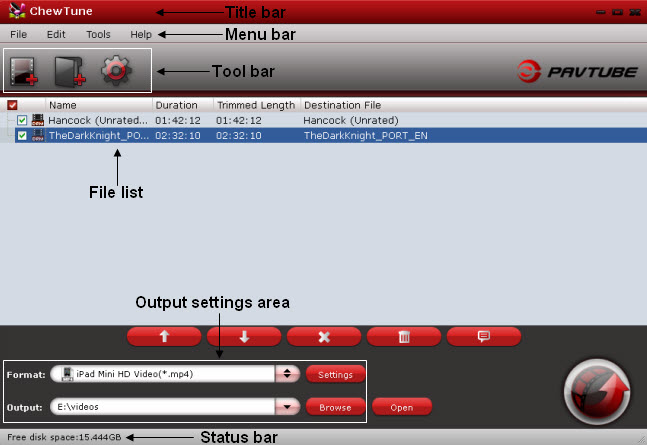
1. Title bar
The title bar displays software name.
2. Menu bar
There are four menus in menu bar, namely “File”, “Edit”, “Tools” and “Help”.
File: Contain options like "Add Video/Audio", "Add from Folder", “Properties” and "Exit".

Edit: Contain operations like Rename, Delete, Clear, Move Up, Move Down, Check All and Uncheck All.

Tools: On this menu, you can change language and skin, customize format list, or launch Options window.

Language: You can choose from English, Japanese, and Simple Chinese.
Skin: Currently, there’s only one skin.
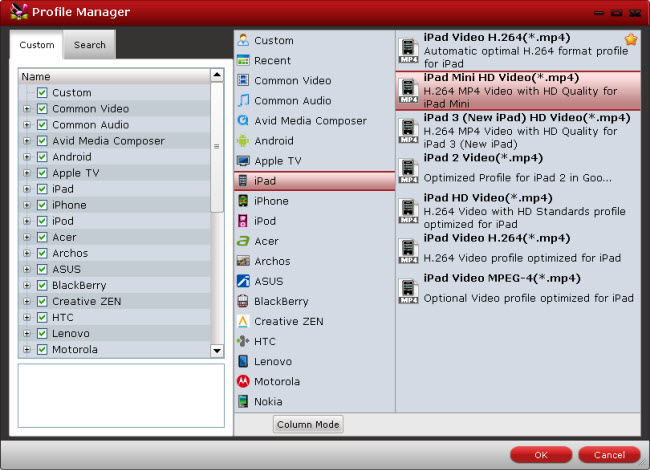
Customize Format List: You can launch Profile Manager and choose which output format to show in your format list. By default, all output formats will show in format list. This manager can also be launched by clicking Customize button![]() at the bottom of Format list.
at the bottom of Format list.
As shown in image below, by checking specific categories on the left column, you can choose which categories or output formats to display on format list.
Options: Choosing Options, you can launch Options window. It can also be launched by clicking Options button ![]() on tool bar.
on tool bar.
In General tab, you can choose what to do if the output file exists and set update frequency.

Help Menu: On this menu, you can find the online user manual, report bugs to Pavtube, check update, launch register window with purchase link (if you are using a trial version), and find version number and other information about this program.
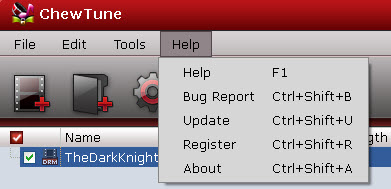
3. Tool bar
Four icons are displayed in tool bar.

Add video: Browse and load source files
Add from folder: Add source files directly from a folder
Options: Open Options panel
4. File list/task list
In the file list/task list you can find task information like file name, duration, trimmed length, and destination file. Under the file list there are control buttons to organize the loaded files.
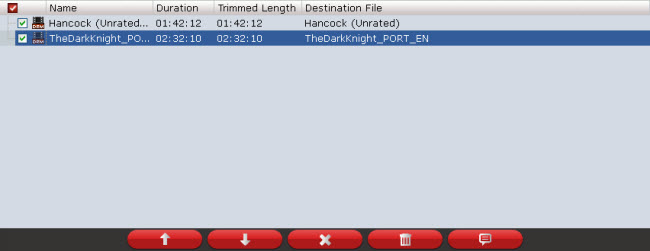
Move Up: Move the selected file one line up.
Move Down: Move the selected file one line down.
Delete: Remove selected file from the file list.
Clear: Remove all the files from the file list.
Properties: View properties of selected task.
5. Output settings area
In output settings area you can set target format, destination folder, adjust audio/video parameters, and open output folder.

6. Status bar
The Status bar shows you free space of your target disk.


