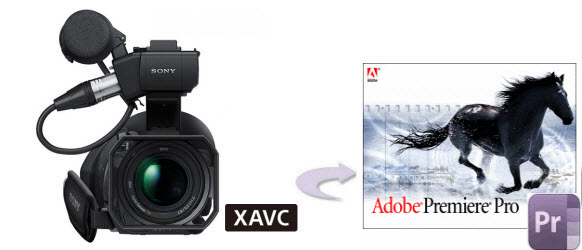
XAVC is a recording format that was introduced by Sony. The XAVC uses level 5.2 of H.264/MPEG-4 AVC as the compression codec. XAVC can support 4K resolution (4096 x 2160 and 3840 x 2160) at up to 60 frames per second.

Hardware that supports XAVC
Sony has announced two cameras that will support XAVC, which are the Sony PMW-F55 and Sony PMW-F5. The Sony PMW-F55 can record XAVC with 4K resolution while Sony PMW-F5 record XAVC with 2K resolution.
Software that supports XAVC
The software that supports XAVC include Adobe Creative Suite 6, Avid, Grass Valley's EDIUS Pro 7, Quantel Rovi MainConcept SDK and Sony Vegas Pro 12.
If you are trying to find a professional video editing program for XAVC recording files, you can't miss Premiere Pro CC, the newest version of Premiere Pro, which aims at providing professional video editing with multiple advantages such as high bit-depth rendering, multicamera editing, time remapping, scopes, color correctional tools, advanced audio mixer interface, etc.
Although Premiere Pro CC has claimed its native support for Sony XAVC recording format on its official website, people still end up with failure when importing or editing XAVC MXF files with Premiere Pro CC due to some unknown reasons.
To solve the problem, you can transcode XAVC MXF files to Premiere Pro CC optimized format. The beneficial application Pavtube Video Converter for Mac, which has recently upgraded itself to add support for XAVC file decoding, enables you to directly output XAVC MXF file to Premiere Pro CC optimized MPEG-2 format for non-linear editing from its output profile option.
How to convert Sony XAVC MXF to Premiere Pro CC for editing on Mac OS X?
Step 1: Load XAVC MXF files to the program.
Transfer the XAVC MXF files from your camera to the local hard drive, then click "File" drop-down menu to import the Sony XAVC MXF files to the application.

Step 2: Select output file format.
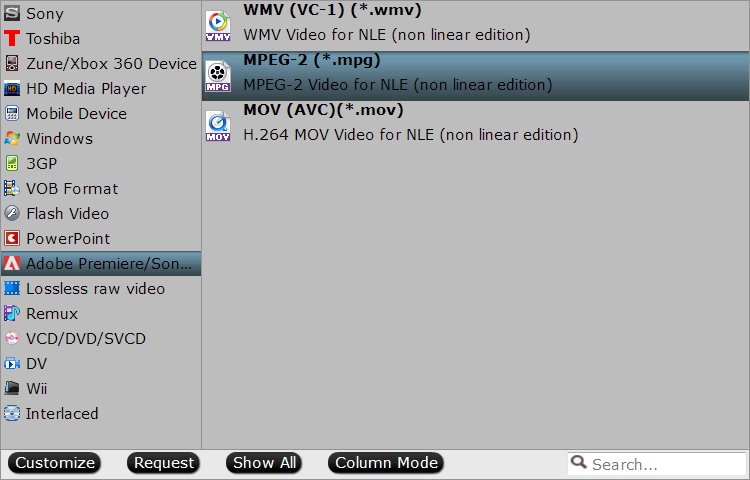
Click the "Format" bar and switch to "Adobe Premiere/Sony.." option and select "MPEG-2(*.mpg)" as the output format for non-linear post work-flows in Premiere Pro CC.

Step 3: Merge into one file.
Check "Merge into one file" on the main interface of the program to join or combine your separate XAVC video footage together.

Step 4: Convert XAVC MXF to Premiere Pro CC.
Hit right-bottom "Convert" button to start XAVC MXF to Premiere Pro CC conversion process. When the conversion is completed, you can do the post work-flows of your XAVC video footage in Premiere Pro CC with no difficulty.


