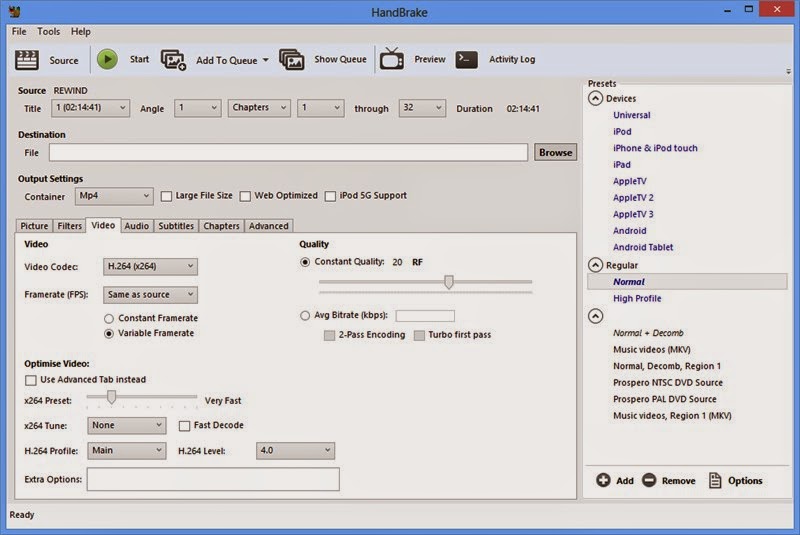
Handbrake is a free and open-source video transcoder that can be used for both ripping DVD and convert video files in various different file formats. However, a lot of users from different communities and forums complain that they recevie the "Unrecognized file type" when dragging certain commmon files such as MP4, MKV into Handbrake or Handrake fail to scan their DVD disc. How to fix Handbrake not reading file error when converting video or ripping DVD? The following article will offer beneficial tips and solutions for this issue to guide you out of the trouble.

Handbrake not recognize file type when converting video
If try to input some common file formats such as MP4, MOV, AVI, WMV, etc into Handbrake but still receive the "Unrecognized file type" message, just try to uninstall your Handbrake and download and install the latest version of Handbrake on your computer to see whether you can fix the error.
Sometimes, Hanbrake may fail to tackle some file formats due to the video, audio codec or bit rate used by the program. Users have ever complain that they fail to load some large AVI files into Handbrake. When in that condition, the best solution is finding a Handbrake alternative to fix the video conversion issue.
Handbrake fail to scan DVD disc
When using Handbrake to rip DVD disc, people will often encounter DVD scan failed, no valid source found problems. The issues are usually caused due to the scratched or damaged DVD disc or the DVD disc is copy protected that Handbrake fail to make a copy of the data on your DVD disc. Then you will need a special DVD Ripper program to bypass that DVD copy protection.
Best alternative to fix Handbrake not reading file error
To fix Handbrake not recognizing file type error when ripping DVD or converting video, you can find a Handbrake alternative such as Pavtube Video Converter Ultimate for Windows/Mac, which not only helps to rip commercial DVD disc with all protection including region code, RCE, UOP, CSS, ARccOS, AACS, BD+, BD-Live, etc, but also enables you to convert various video even some uncommon file formats such as H.265/HEVC, XAVC/XAVC S, MXF, AVCHD, etc to your desired file formats or devices and programs preset profile formats.
Related topic: Handbrake Video Audio Out Sync | Handrake VLC 2.0 Problem | Handbrake No Valid Source Found
Besides the basic video converting function, you can also use the program to do some simple video editing work that Handbrake can't do. You can flip or rotate video angel, trim or cut video to remove unwanted parts or segments, crop video to remove the unwanted black bars or area, add image/video/transparent text watermark to video, apply special rendering effect to video, remove/replace audio in video, add external srt/ass/ssa subtitles to DVD, split large video into small clips by file size, count or length or merge separate video into one file.
How to Fix Handbrake Not Reading DVD/Video Error with Handbrake Alternative?
Step 1: Load source video or commercial DVD disc.
Start the program, on the main interface, click "File" > "Load Video/Audio" to import source video into the program. For loading DVD disc, insert your DVD into the built-in or external connected DVD drive, then click "File" > "Load from disc" to load DVD disc into the program.

Step 2: Define output file format.
From "Format" bar drop-down list, select one of your desired file format to output. Here, we choose to output a more portable device compatible file format "H.264 HD Video(*mp4)" under "HD Video" main category. You can also choose other file formats or device preset profile formats according to your own needs.

Tips: In the program's profile settings window, you can adjust the output profile parameters such as video codec, bit rate, frame rate and audio codec, bit rate, sample rate and channels to make them fit with your devices or programs.
Step 3: Edit video or DVD title.
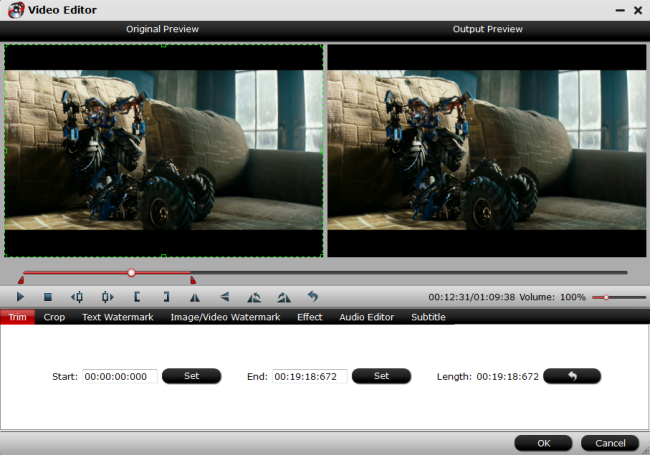
Select an item on the main interface to active the "Editor" function, then click the Edit icon on the top tool bar of main interface to open the Video Editor Window, you can play and preview the original video and output effects. Also you can flip video, trim, crop, add effect, add watermark, apply special effect, etc.

Step 4: Start the final conversion process.
After all setting is completed, hit right-bottom convert button to start to convert video or ripping DVD process.
When the conversion is completed, you can find your converted files by clicking "Open output folder" with your desired file formats for easily playing on computer, smartphones, tablets, game consoles, etc or sharing on YouTube, Facebook, Vimeo or Instagram.


