GoToMeeting, GoToWebinar and GoToTraining recordings usually come with a WMV format, However, WMV files created by GoToMeeting app will get in the way when you’re attempting to edit them in editing systems such as Movie Maker, Camtasia, FCP Pro, etc.

To import G2M WMV captures into Movie Maker, Camtasia, and FCP Pro for editing in the timeline, pick a G2M WMV converter first and it can transcode G2M WMV files to native formats of your editing system. Pavtube Video Converter Ultimate allows you to put a wide range of videos into it and perform excellent job by converting G2M WMV and other video files to Windows Movie Make, Camtasia, FCP Pro, etc.
How to edit G2M WMV in Movie Make, Camtasia, and FCP Pro?
Step 1. Import recorded G2M WMV files
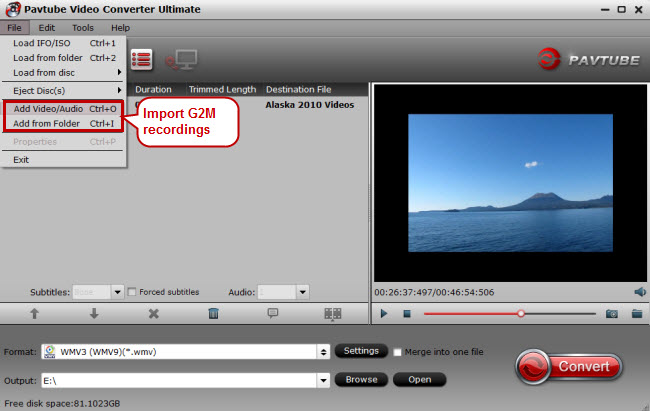
Run G2M WMV video converter on PC and click “File” > “Add Video/Audio” or “Add from Folder” to import WMV files created by GoToMeeting app.

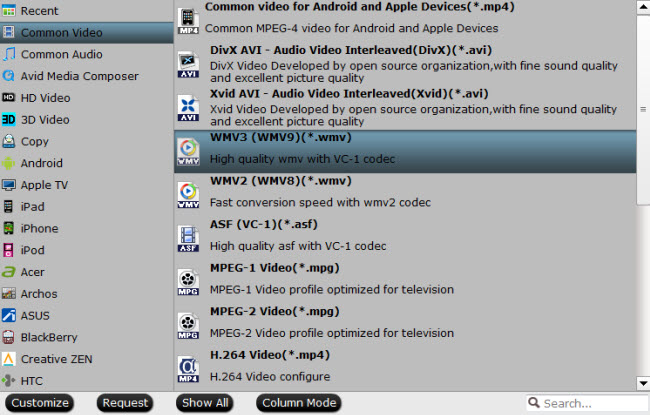
Step 2. Select Movie Maker/Camtasia/FCP Pro supported video format
Be prudent when picking an output format for your editing system. You can visit official website to check video formats compatible with Windows Movie Maker, Camtasia, and FCP Pro. And then choose feasible one.

For editing in FCP Pro, you will need a Mac G2M WMV converter to help rip GoToMeeting recordings to Apple ProRes.
Step 3. Edit G2M WMV files (Optional)
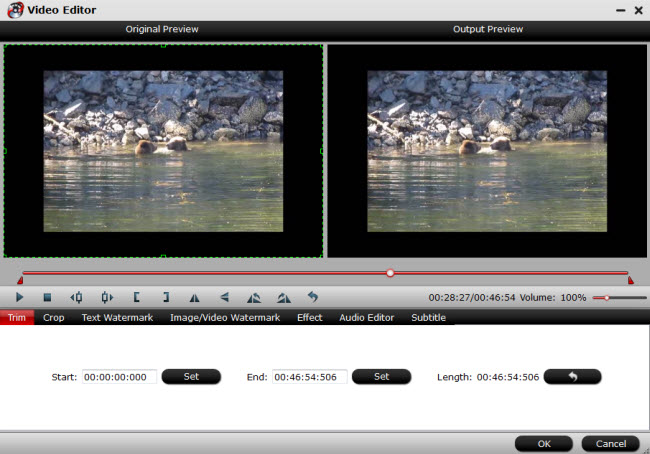
Before importing the converted G2M WMV files to your editing program, you can do some basic editing operations like trimming, cropping, adding watermarks, and special effects which can be achieved in “Video Editor” screen (by clicking “Edit”).

Step 4. Convert G2M WMV to Movie Maker/Camtasia/FCP Pro
Start G2M WMV conversion by simply clicking on “Convert.”
Then you'll have no problem importing G2M WMV files to editing systems.


