Not all but many modern HDTVs do not display better quality image that is sent to them from various digital inputs. This tutorial will show you a detailed guidance on how to improve your TV’s picture quality on PS4 and other game consoles/set-top boxes which transfer video with DIGITAL connection. In the following tutorial, I will start the demonstration on my PS4 which is connected to my Samsung UE32H5000 1080p HDTV(You can aslo use other TV brands) through the HDMI port.
Step 1: Set HDTV into 4:4:4 subsampling mode.
The 4:4:4 subsampling mode is not supported by all HDTV. On many TV brands, you can do this setting by going into General TV Settings and searching for “PC MODE” or “Gaming mode” setting. However, it may be more difficult to do it on most Samsung TV’s. Let’s begin.
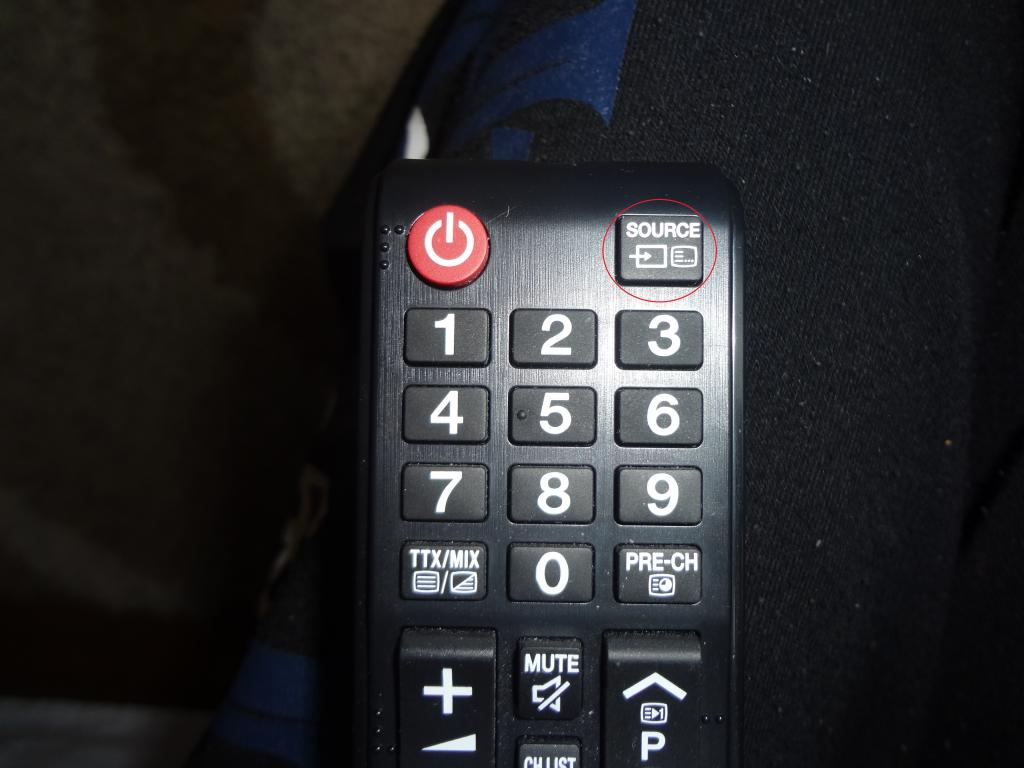
First: Press the top-right “Source” button on your TV remote control to open the source list on your TV.
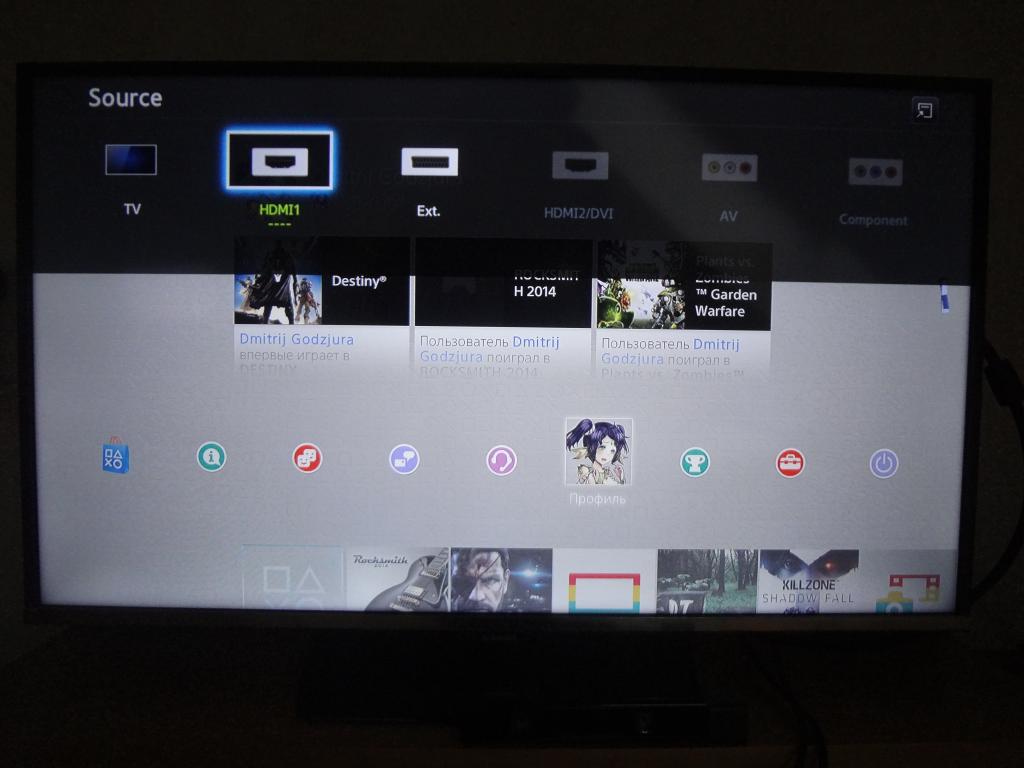
A list of sources will display on your TV screen with the interface as below:
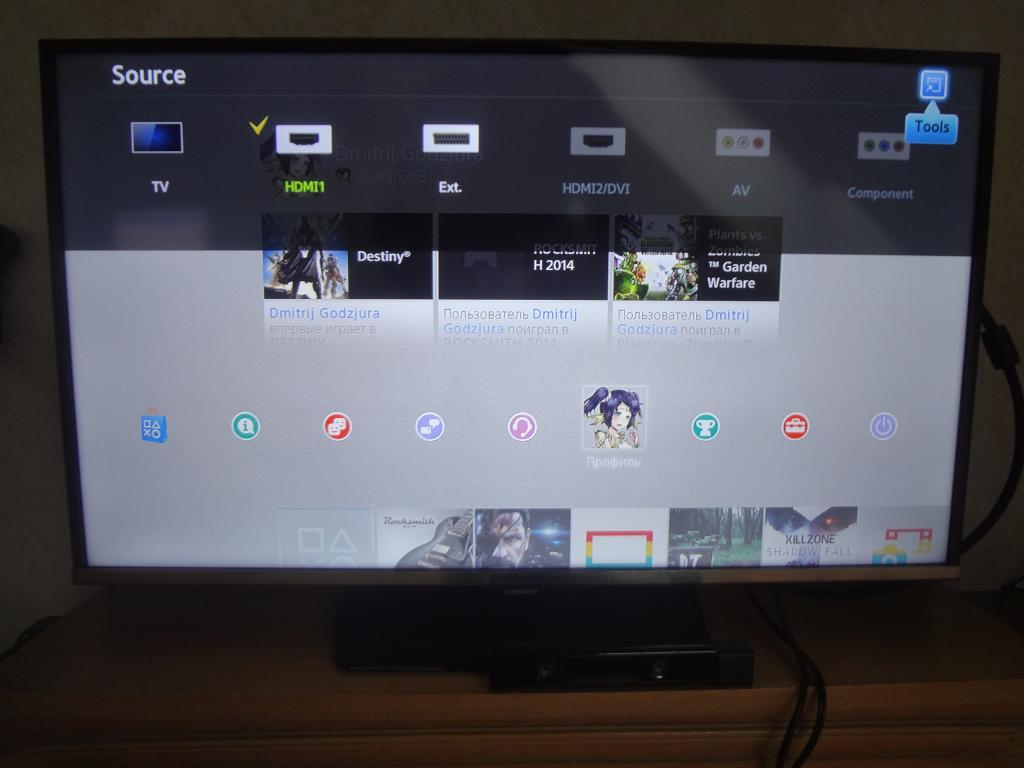
Switch to the “tools” button on your TV remote control to select the source that you use for your console or set-top box.
From the pop out window, a list of various names for the source will appear, from the list, choose “PC” as our source name and then hit the “OK” button besides.
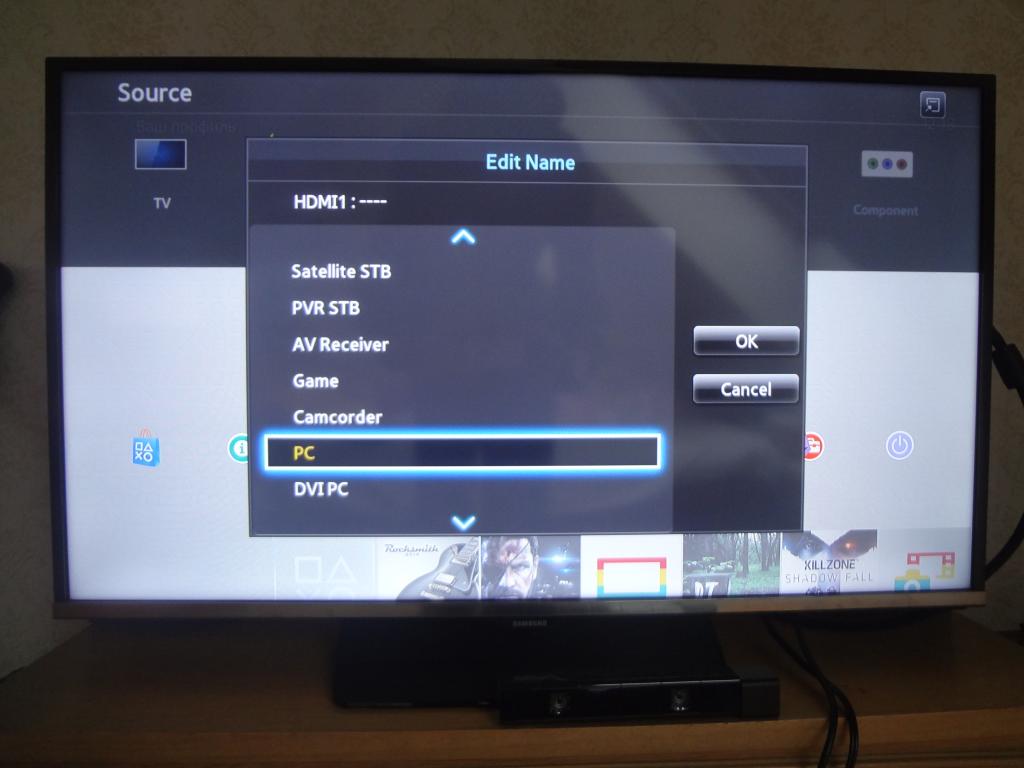
If you have done all the settings above correctly, the screen will become blank for a moment, and there will be a substantial improvement in picture detail immediately.
Why set TV into 4:4:4 subsampling mode.
With 4:4:4 subsampling mode, your gaming and movie watching experience will be greatly improved. Not only the picture quality will be upgraded, but also the lag will be reduced by disabling unnecessary picture processing capabilities built into your HDTV.
Step 2: Define color and black levels on your PS4 and HDTV.
To display correct color information on the screen, it is every essential to match the color settings correctly both on your console and TV. Since preferences are different, so just feel free to change settings to make it suits you better. Let’s begin the process.
First, select “Sound and screen” menu from “Settings” on PS4.
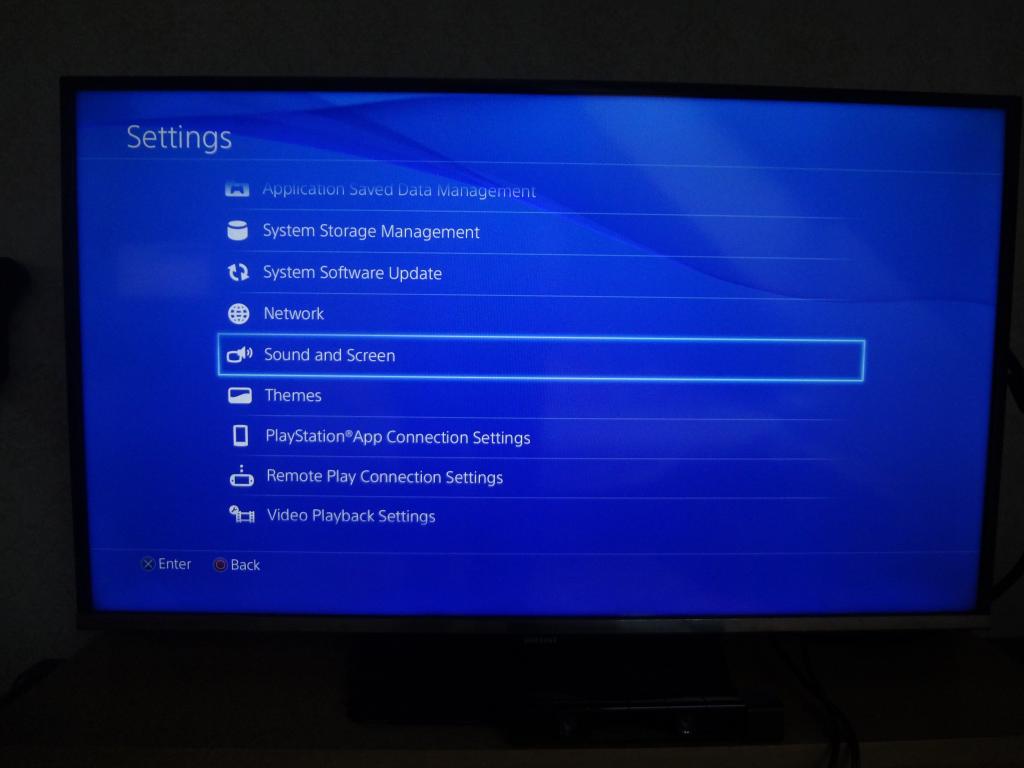
From the opened window, select “Video Output Settings” option.
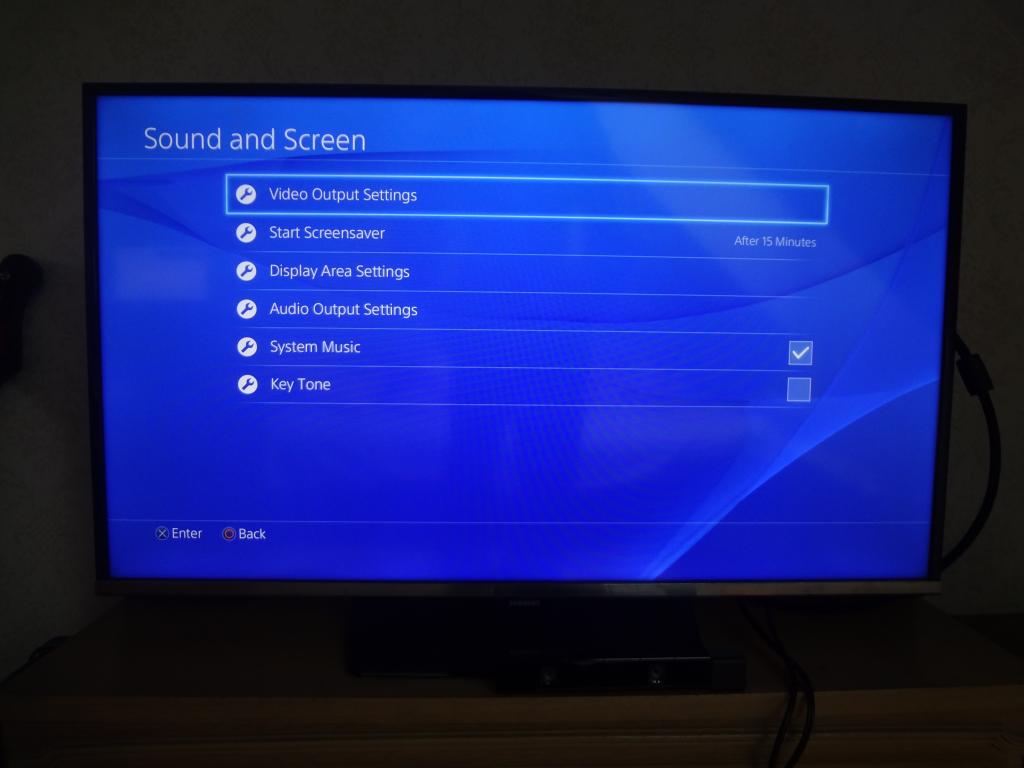
The video output settings will be visible for us as below:
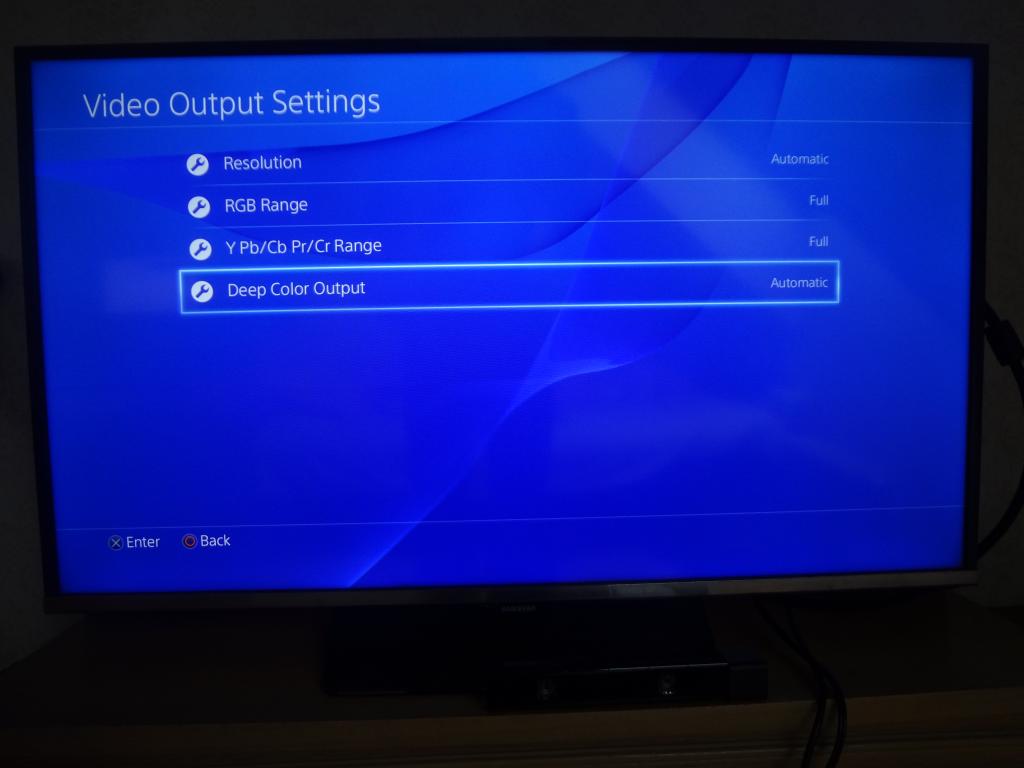
Here, set both “RGB Range” and “Y Pb/Cb Pr/Cr Range” to full, “Deep color Output” to Automatic.
Then do the picture settings on our TV Menu by select “Picture Mode”.
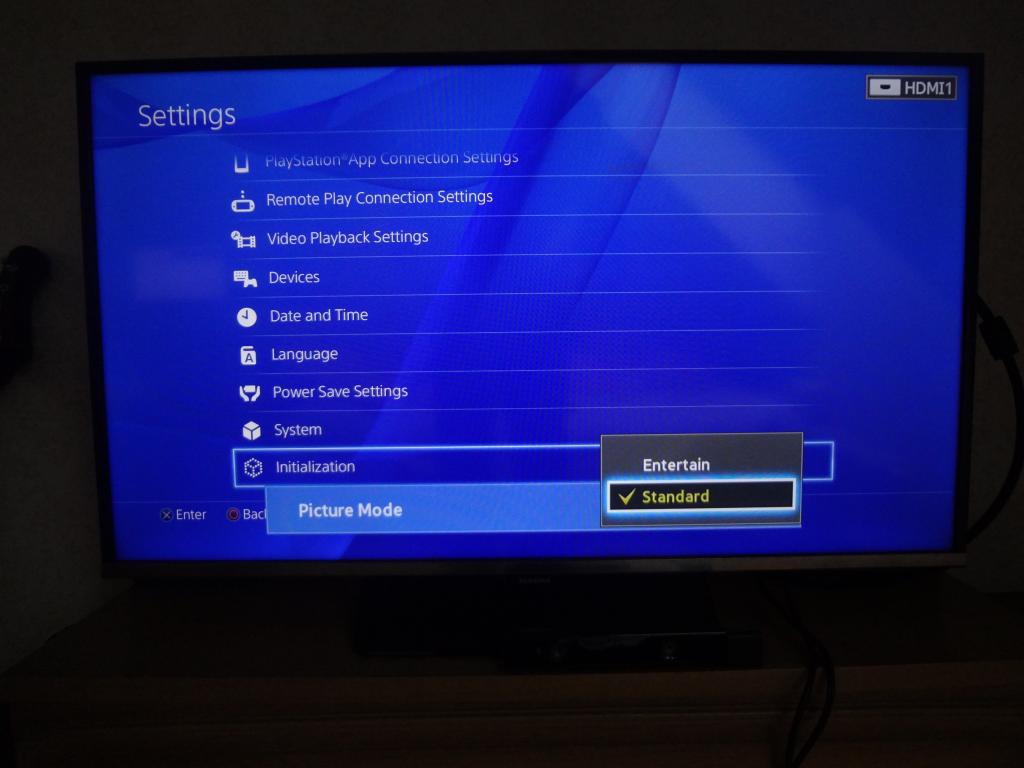
In the opening window, you will see two picture setting modes.
Standard: Fits for a room with varying light levels (any room with a window and/or any other varying light source). On my particular TV this mode uses my TV’s built-in eco sensor to change screen brightness levels for comfortable viewing in rooms with changing luminescence.
Entertain: This setting is for cinema-like environments (dark rooms with no external light source). Note that in this mode my TV draws its maximum amount of power.
You can change these two settings at any time according to your preference.
The important part.
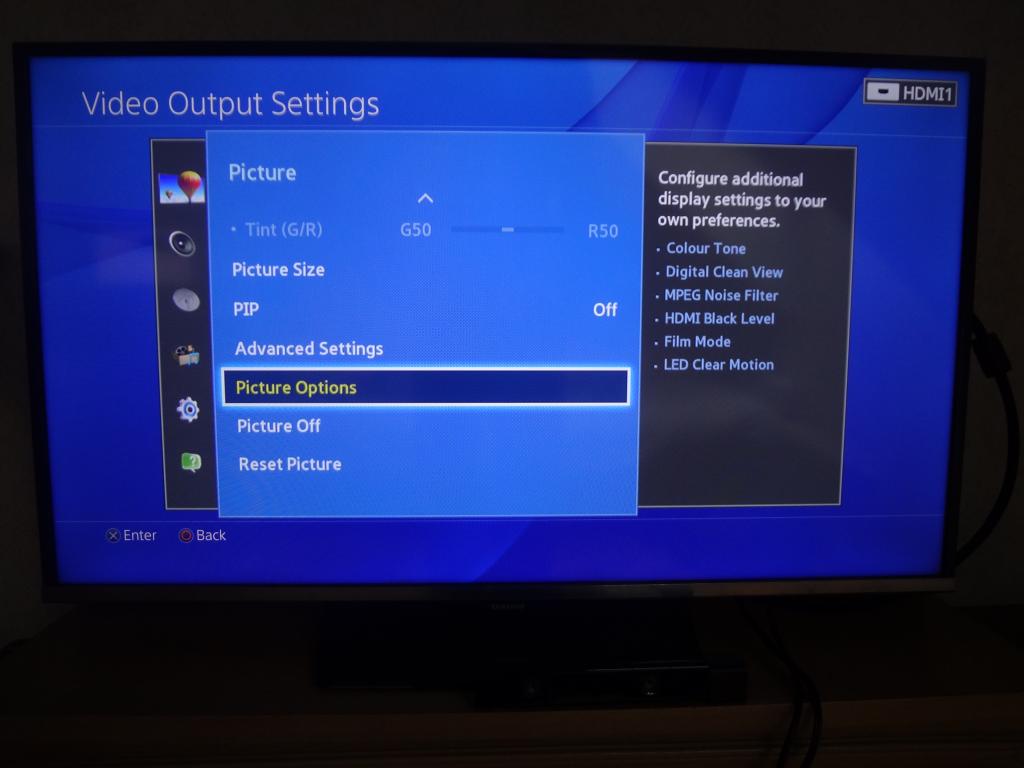
Go back to picture settings and switch to “Picture options” menu.
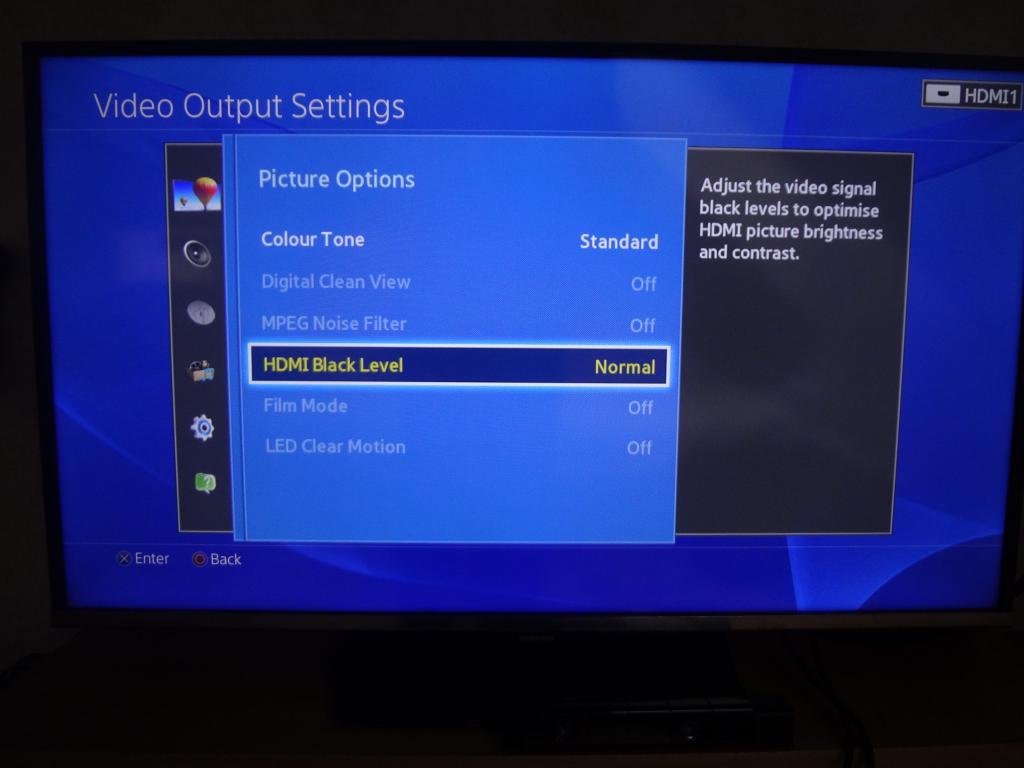
Go to a setting called”HDMI Black level”under “Picture Options”.
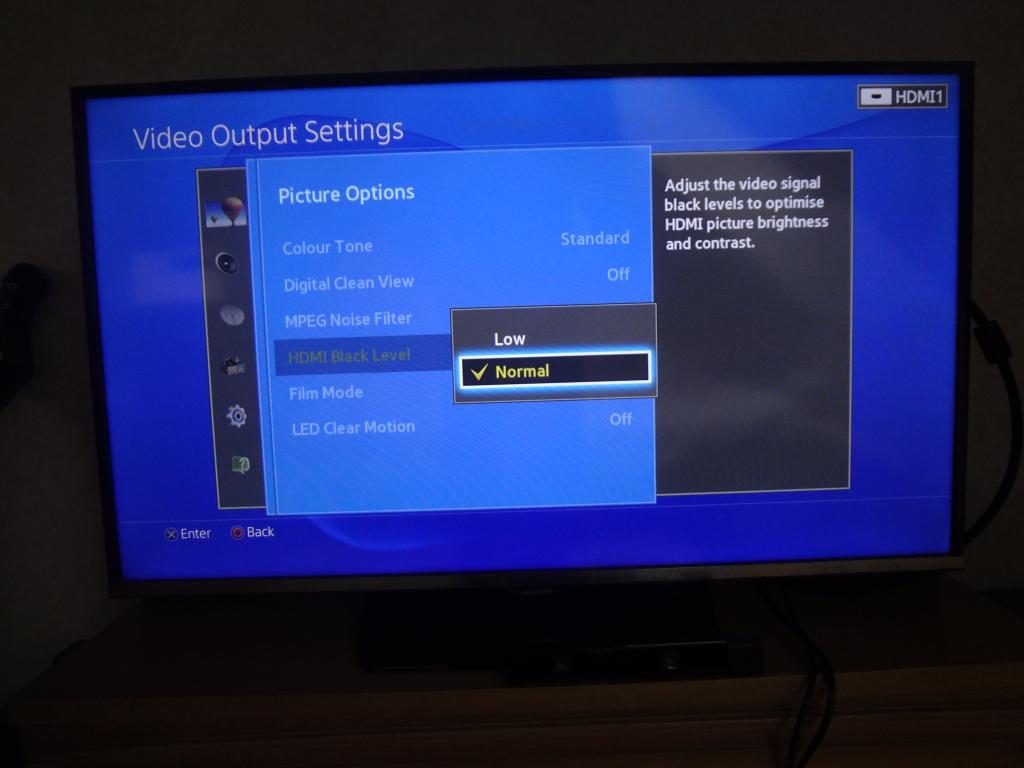

This setting has direct relevance with the “RGB” and “Y Pb/Cb/Pr/Cr Range” mentioned before.
If your “RGB” and “Y Pb/Cb/Pr/Cr Range” settings is full, your HDMI Black Level should be set “Normal”.
But if your TV only has “Low” settings for “HDMI Black Level”, change “RGB” and “Y Pb/Cb/Pr/Cr Range” settings to “Limited”.
This picture settings modes can help you to properly display black colors in dark scenes in video games or DVD/Blu-ray movies.
Join our 2016 summer vacation promotion to enjoy up to 50% off discount coupon code for Blu-ray/DVD/video conversion tool.
Further Reading:
How to Easily Access American Netflix on PS4 when you live outside of the US
Hero Plex: Stream Your Personal Media to PS4 without DLNA
How to Take, Upload and Share PS4 Screenshots Online?