A personal video recorder (PVR) is an interactive TV recording device, in essence a sophisticated set-top box with recording capability. Like the familiar VCR, a PVR records and plays back television programs, but, unlike the VCR, it stores the programs in digital (rather than analog) form. The PVR encodes an incoming video data stream as MPEG-1 or MPEG-2 and stores it on a hard disk within a device that looks much like a VCR. Sometimes, to make room on your PVR, it would be a good option for you to play PVR recorded files to an external hard drive. Below article will show you how to PVR recroding to external hard drive for viewing on smartphones, tablet or game consoles, etc.
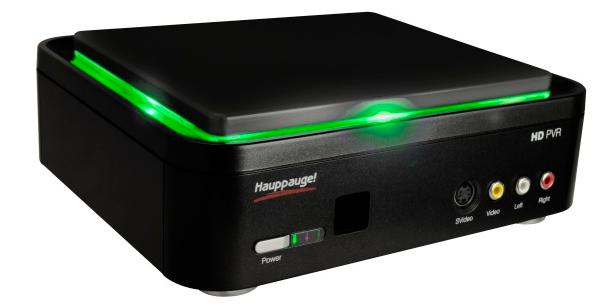
Transfer PVR Recordings to External Hard Drive
Step 1: Press the MENU button on your remote control.
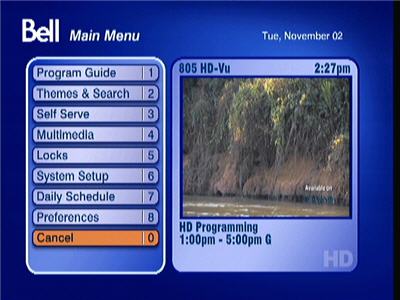
Step 2: Press 4 or select Multimedia from the Main Menu screen.
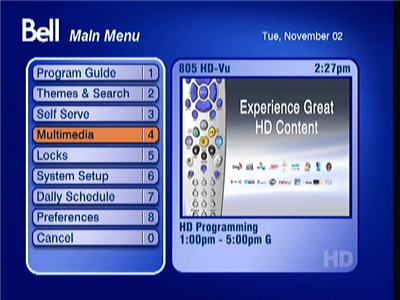
Step 3: Press 3 or select External Hard Drive from the Multimedia menu.
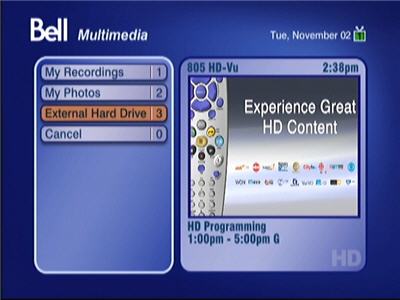
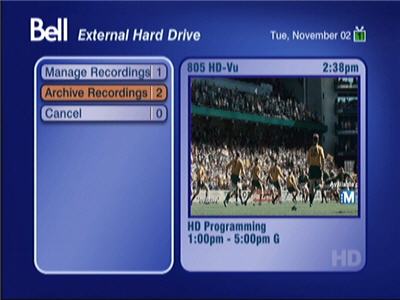
Step 4: Press 2 or select Archive Recordings from the External Hard Drive menu.
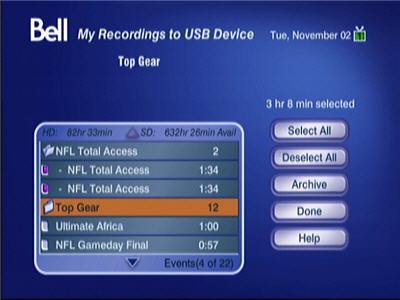
Step 5: Highlight the recordings you would like to transfer and press the SELECT button on the remote.
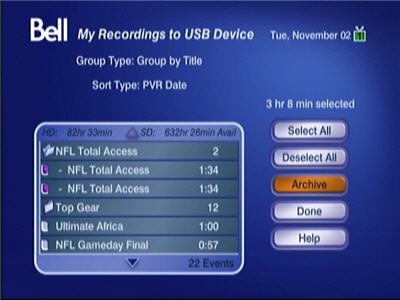
Step 6: Select Archive to start the transfer.
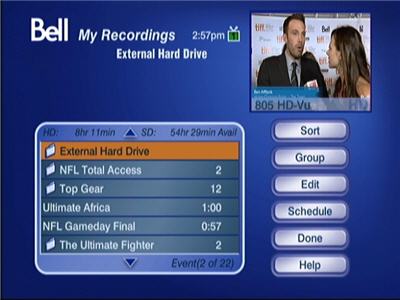
Step 7: Find Archived recordings.
To find archived recordings, press the PVR button on your remote control to access the My Recording list. You'll find them in the External Hard Drive folder at the top.
Note: External hard drives are only supported on Bell Satellite TV receiver models 9241, 9242 and 9400. They must be active and on the same account.
Play and edit PVR recordings
As the PVR encodes video data stream as MPEG-1 or MPEG-2, which is not compatible with the media player apps on your computer, portable devices or video editing software. To fix this format incompatible issue, you will need a powerful PVR converter. There's a simple and workable solution in hand called Pavtube Video Converter Ultimate for Windows/Mac (best video converter for windows mac review), with the program, you can easily convert PVR recordings with MPEG-1/MPEG-2 encoding to any of your desired file formats or device and program preset profile formats for better playing, editing and sharing.
Apart from that, you can also use the program to do some simple video editing o PVR recordings. You can trim or cut video to remove unwanted parts or segments, merge separate video clips into one file, split large files into small parts by file size, length or count, crop the black bars around the video frame, add video/image/transparent text watermark to video, apply special rendering effects to video, etc.
How to Convert PVR Recordings for Playing and Edit on Windows and Mac?
Step 1: Load PVR recordings into the program.
Directly drag and drop your target PVR recordings to the main interface of the program to load them. This is the easiest way to import files to the PVR Video Converter.

Step 2: Set output format.
Click "Format" drop-down button of this program to choose one of the most compatible file format such as "H.264 HD Video (*.mp4)" as output format from "HD Video" category.

Step 3: Trim/Crop/Merge/Split PVR recordings.
Check an item to active the "Video Editor" function, then click the pencil like icon on the top tool bar to open the "Video Editor" window, you can trim video length, crop video black bars, add watermark, apply sepcial rendering effect, remove/replace audio in video, etc.
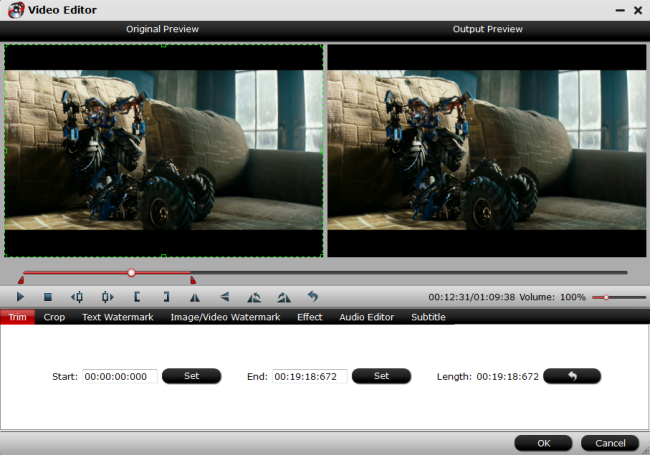
Step 4: Start PVR recording conversion process.
Click "Convert" button of the program to convert PVR to H.264 HD MP4. When the conversion is completed, you can find converted PVR files by clicking "Open Output Folder" on the main interface.


